Build from source
Rat Remote is currently distributed as an Apache 2.0 open-source project through GitHub rather than a paid download.
Rat Remote · Setup guide
Build the open-source app, choose the controls you want and grant only the macOS permissions those features need.
Open the repository →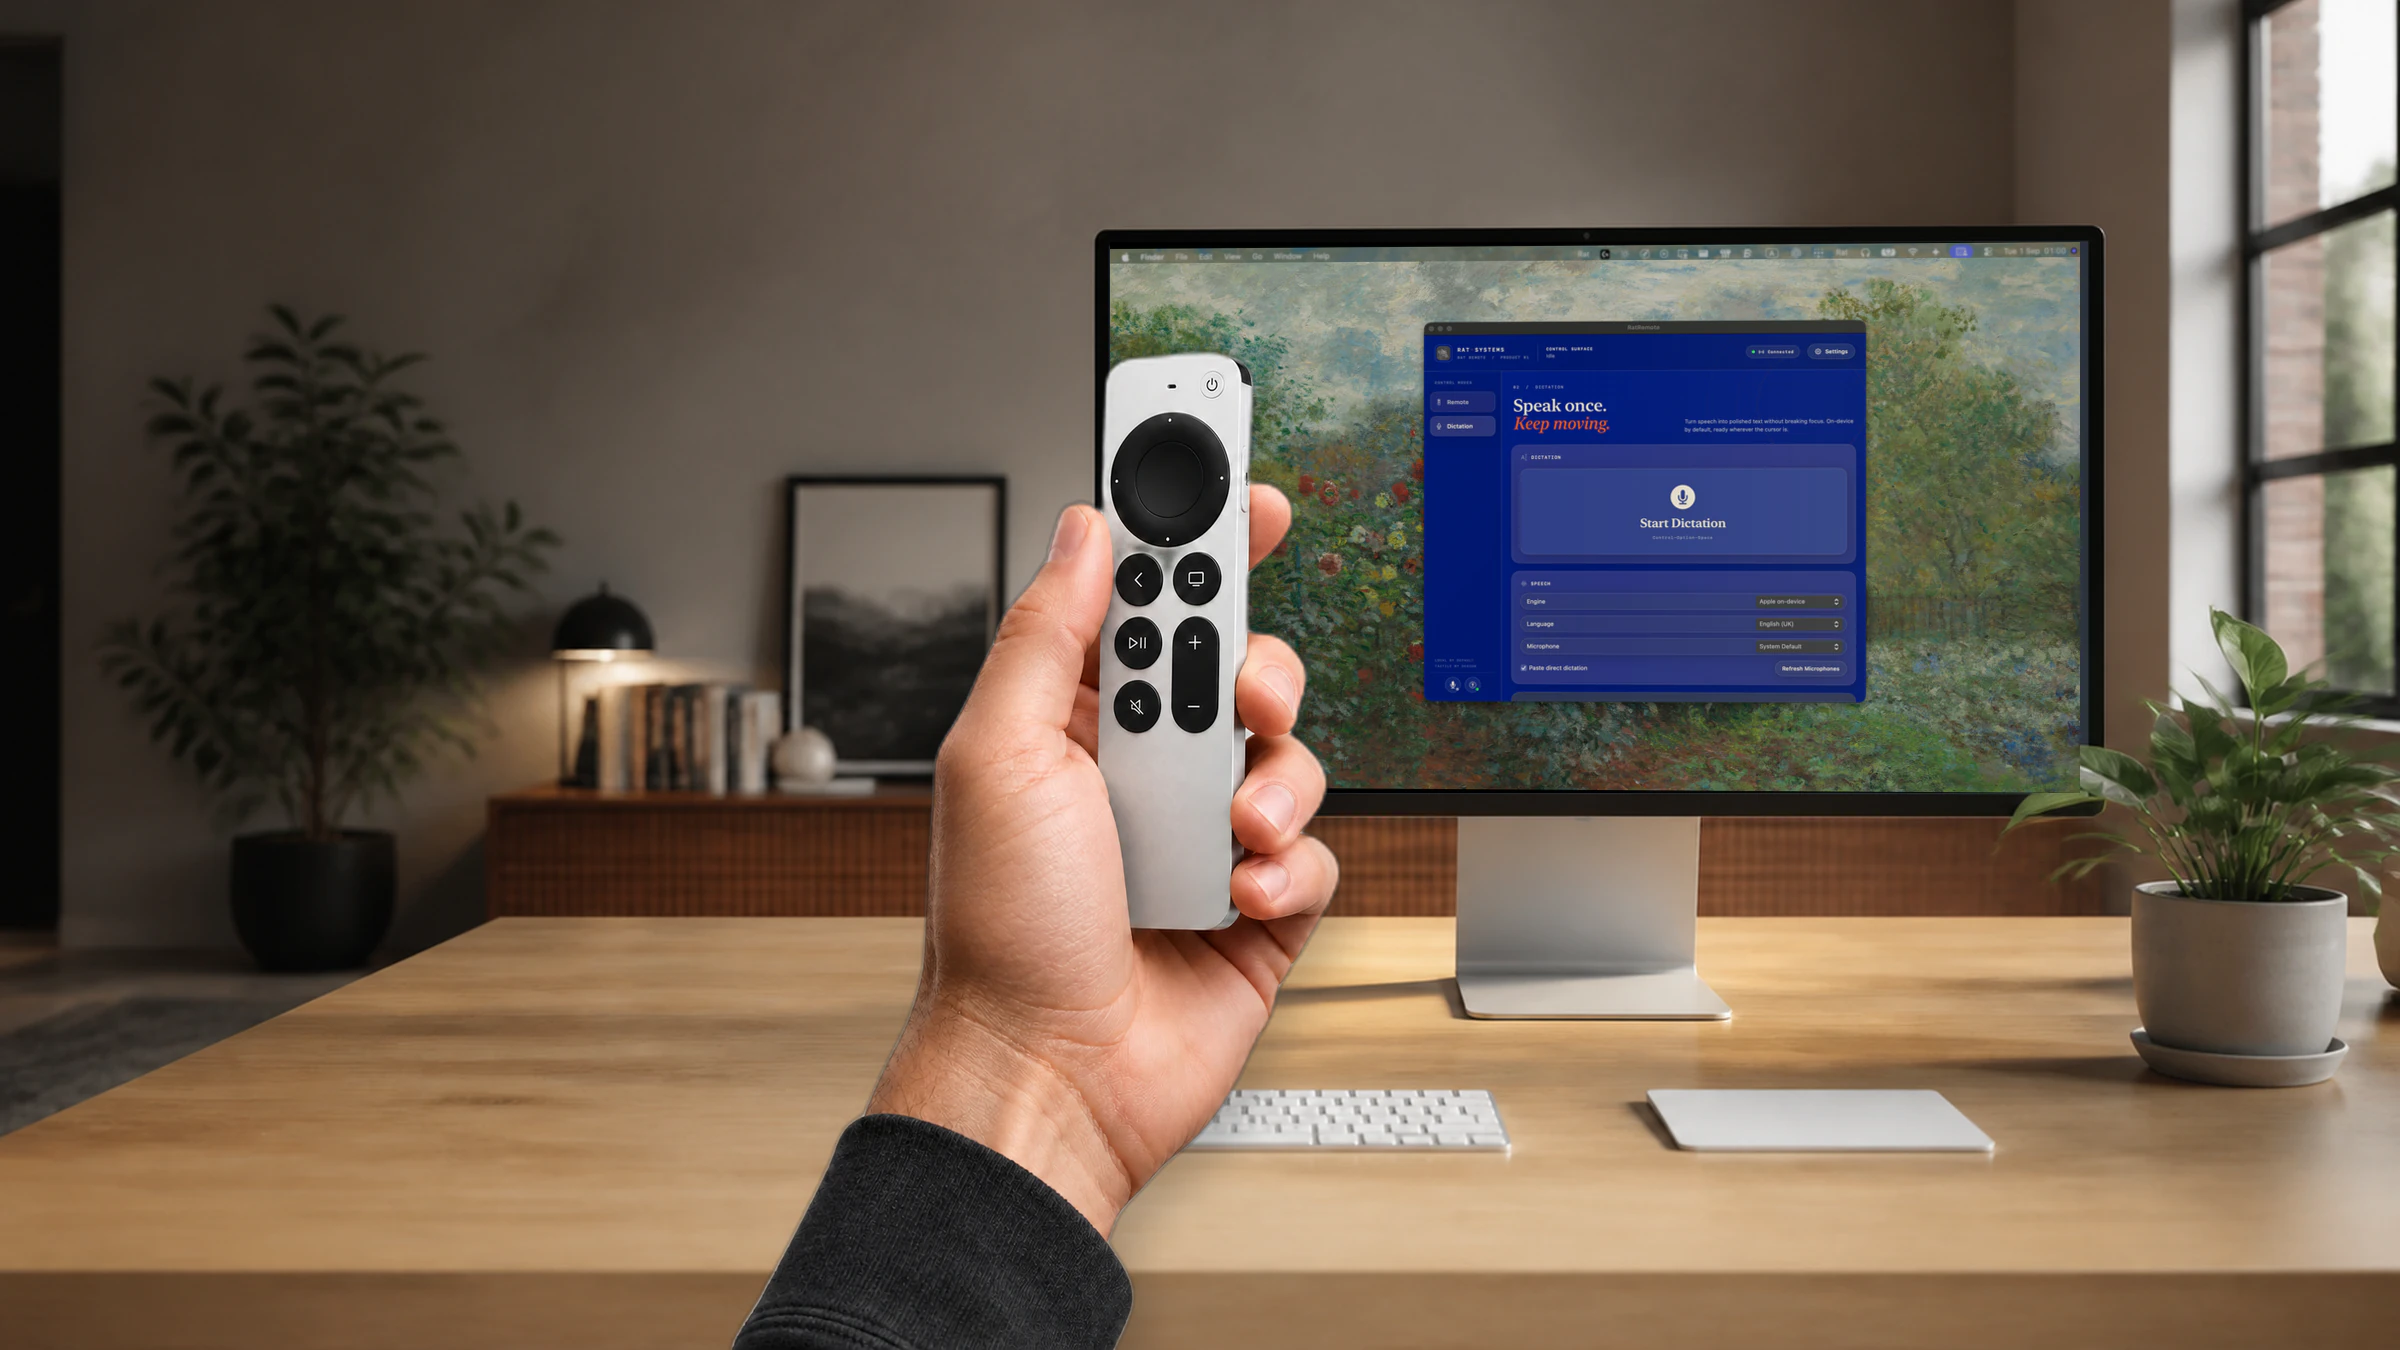
Rat Remote is currently distributed as an Apache 2.0 open-source project through GitHub rather than a paid download.
Use Apple’s on-device options, a local model or a compatible endpoint configured with your own credentials.
Accessibility, Microphone, Screen Recording and Speech Recognition are managed through macOS Privacy & Security.
— Step by step
Clone or download the public Rat Remote repository and follow its current build instructions in Xcode.
Select the Mac app target, build it locally and launch Rat Remote. macOS may ask you to confirm opening a locally built app.
Connect a compatible remote in macOS Bluetooth settings. The Mac’s own microphone can still be used for dictation without a remote.
Grant Accessibility for pointer and text control, Microphone and Speech Recognition for speech, and Screen Recording only when using screen-aware commands.
— Good to know
You do not need every permission for every feature. Enable a capability when Rat Remote explains why it is needed.
Choose the microphone Rat Remote should record in its settings. The Siri button acts as a convenient push-to-talk trigger.
Local and self-hosted options let you decide where supported voice and command processing runs.